Manage Groups
Your PlanIt Purple group page displays your group name, short description, contact information, and homepage (if any). You can change this information at any time in the group administration panel. Note: Only group managers can make these changes.
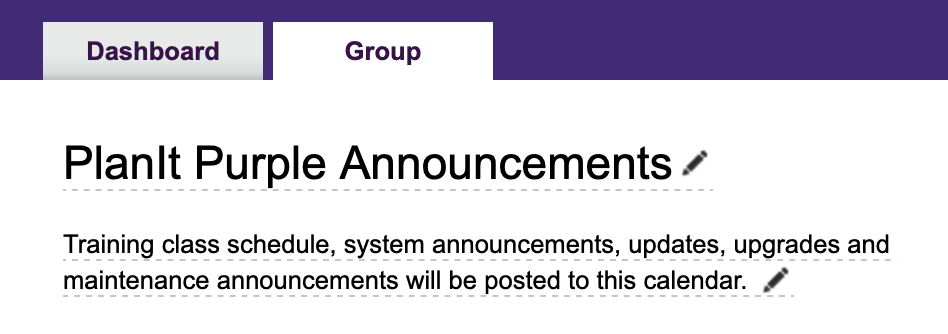
Group Title and Description
- Go to your dashboard in PlanIt Purple and click on the group that you wish to edit.
- To change the group name, click on the name or pencil icon. An editable text field will open; type a new group name, then click OK to save your changes.
- Right below the title field is a group description field. To change it, click the existing description or pencil icon. An editable text field will open; type a new description, then click OK to save your changes.
Primary Group Contact
Group contact information is listed under the Primary Group Contact heading. By default, PlanIt Purple lists the person who created the group. This information is displayed on every event. To change these values, click on the name, email, and phone number fields. Phone number is optional.
Group Events List URL
The Group Events List URL is the address where your group's events are listed. To change this address, click the text at the end (initially a numeric ID) or pencil icon. An editable text field will open; type the value you wish to use, then click OK to save the changes. The value should be all lowercase with no spaces or special characters other than hyphens.

Upcoming Events
Any future-dated events listed under your group will be listed under the Upcoming Events heading. You can add an event or edit an existing event here.
Group Managers
Under the Group Managers heading, you will see a list of people assigned to manage the group. This area also allows you to add/delete group managers by NetID. For more details, please see Manage Users page.
Event Contributors
Under the Event Contributors heading, you can see all contributors that have access to this group. Contributors can add, edit, and delete events but cannot change the group's name, description, or other properties. Managers may add event contributors by clicking the [Add contributor] link and entering a NetID. For more details, please see Manage Users page.
Web Address
If your group has a website, you may list it in the Web Address field. This information is listed next to all events so people can learn more about your group.
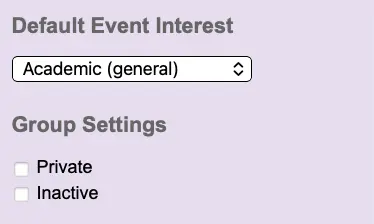
Default Event Category
To change the default event category for your group's calendar, simply select a category from the drop-down menu under the Default Event Category header near the bottom of the right column. The default event category is the category into which any new events you create for your group are placed. When creating events, you can always change the category from your group's default category if necessary.
Group Settings
There are two choices under the group settings section which control how your group is listed in PlanIt Purple:
- Private: By default, your events will appear on the PlanIt Purple homepage and can be shared into other groups. If you prefer to limit who can view your events, you can control group privacy under Private heading. If your group is private, only users who know your group's URL can see its events.
- A private group's events will not display on public pages like the PlanIt Purple homepage, groups listing, or in search results.
- Events posted under a private group can be accessed via the private URL.
- Users don't need a PlanIt Purple account or NetID to see private events.
- Inactive: If you have not posted events to your group in over 18 months, it may be marked inactive, hiding it from the groups list and feed builder. You can uncheck this box to make your group active again. Please fill out our Service Request Form if you wish to delete your group.
When you're finished editing these fields, scroll back to the top of the page and click the dashboard tab. Your changes will have already been saved.