Tables
To create a table:
-
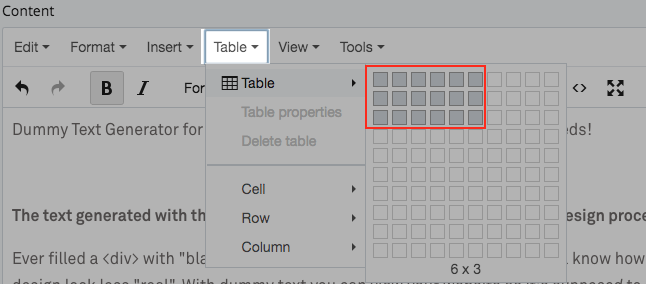
- Place your cursor wherever you wish to place the table. Click the Table dropdown.

- Next, select the desired number of rows and columns by moving your mouse over the grid.
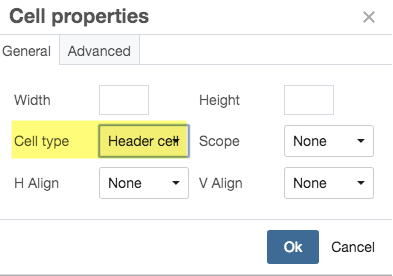
- Once you insert the table, right click in the first row and go to Cell-->Cell Properties and change the Cell Type to Header Cell.

- Right click anywhere in the table to see the options to modify a table. You will find options to add or delete rows/columns, merge cells or delete table.
- You can now add the content in table cells. Since the templates are responsive, the table cells will take up the size of the content.
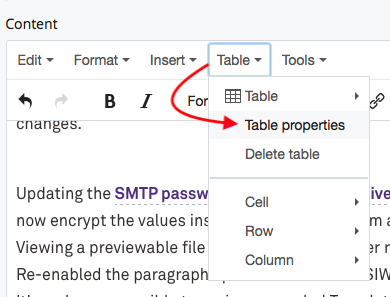
- After you are done editing table content, select the table and choose Table properties from Table menu in the WYSIWYG toolbar.

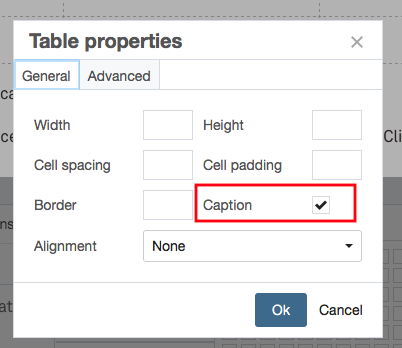
- In "Table properties" pop up, check Caption field and click Ok.

If your site is in V3 template, a blank caption field will be added to the bottom of the table. If the site is in V2 template, it will be added right above the table.
- Enter a title for your table in the caption field. This step is needed for accessibility.
- Place your cursor wherever you wish to place the table. Click the Table dropdown.
Note
- V3 sites have an additional social media bar that runs horizontally in the footer.
- You can also add a table caption when you go through Cascade content checks. If a table is missing caption, you will see an error under accessibility tab during content check. Go to accessibility tab and add a caption for your table by clicking on fix option.
- Do not use any of the heading styles (H1-H6) within a table.
- If you need help with this step or you have a table with merged cells, email webcomm support and we'll walk you through the steps.