Adding Classes
To enroll, you can either add classes or swap classes. [Note: Instructions for swapping classes are contained on the Swapping Classes Web page.
Step 1
Navigate to the CAESAR login page and sign in using your NetID and password. Your Student Homepage appears.
Step 2
To add a class to your schedule, click on the Manage Classes tile.
Step 3
Click on "Shopping Cart and Enroll" in your left-hand menu. If more than one term is available, select the appropriate term. The Shopping Cart - Add Classes to Shopping Cart page appears.
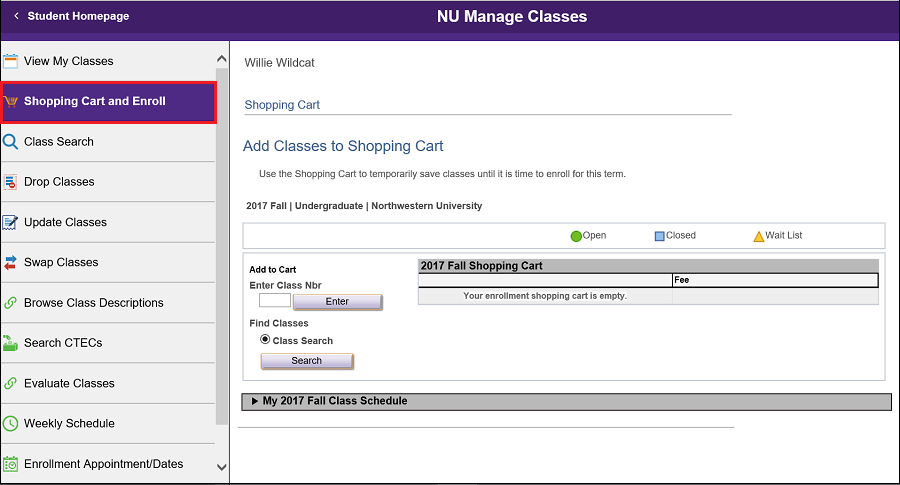
Step 4
Enter a 5-digit class number in the Class Nbr field provided and press Enter. OR, press Search to access the Shopping Cart – Enter Search Criteria page to search and select a course. If the class has a related component(s), such as lab or discussion section(s), they will appear beneath the lecture component. [Note: You must register for discussion or lab sections with the lecture. You cannot register for labs and discussion sections independently.]
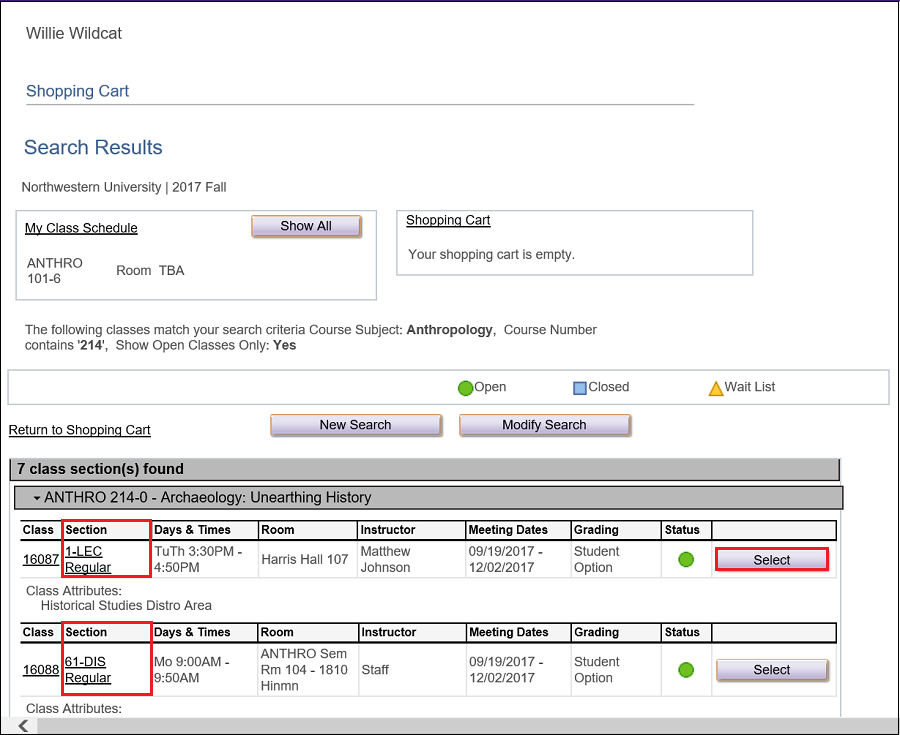
Step 5
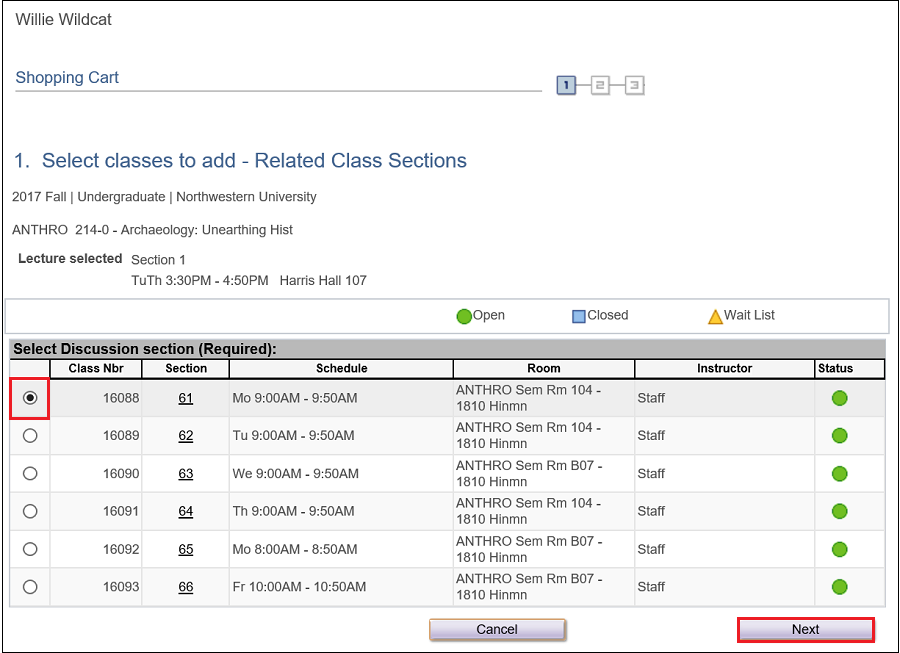
Select the section(s) you want and press Next. The Shopping Cart - Select classes to add - Enrollment Preferences page appears.
Step 6
Review your course selection, enter a Permission Nbr if required, change the Grading basis if desired, and select the number of Units of available and press Next.
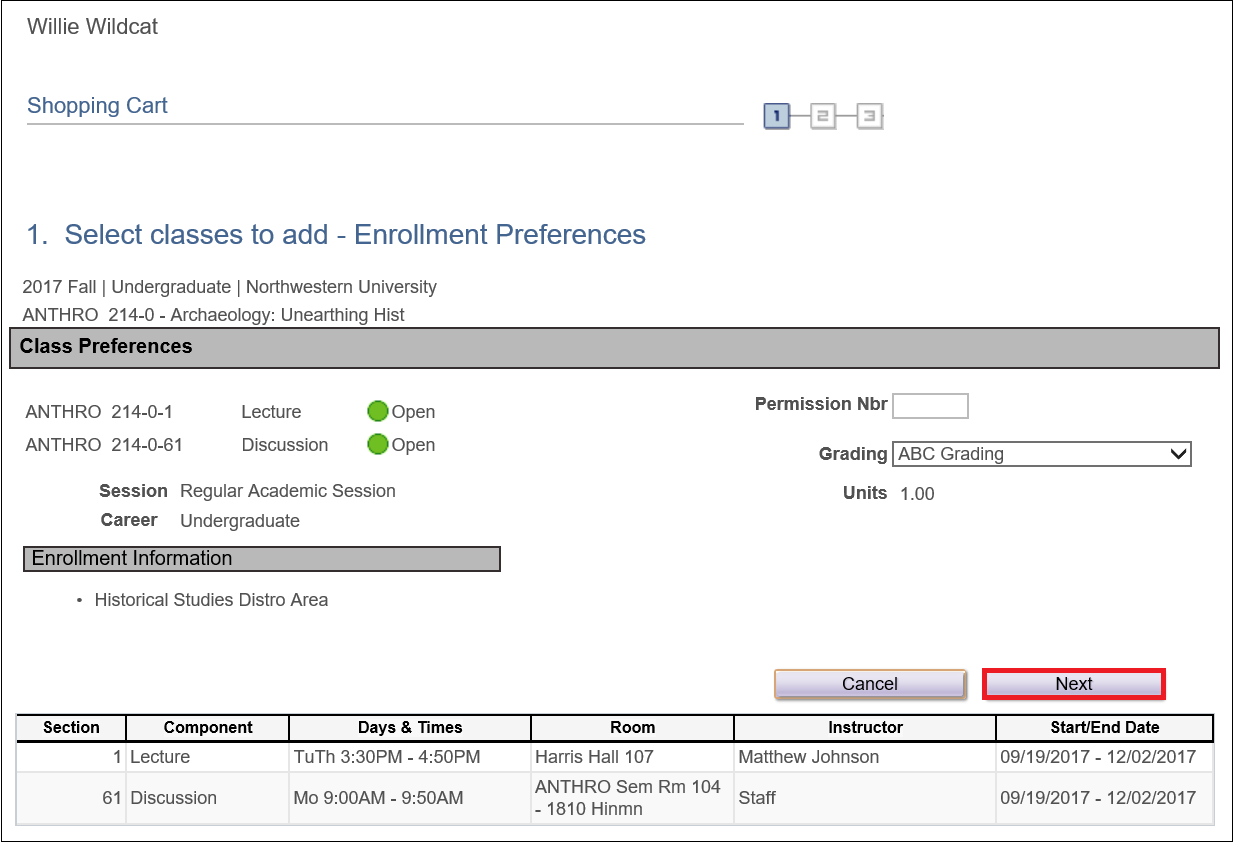
You have successfully added this class to your shopping cart.
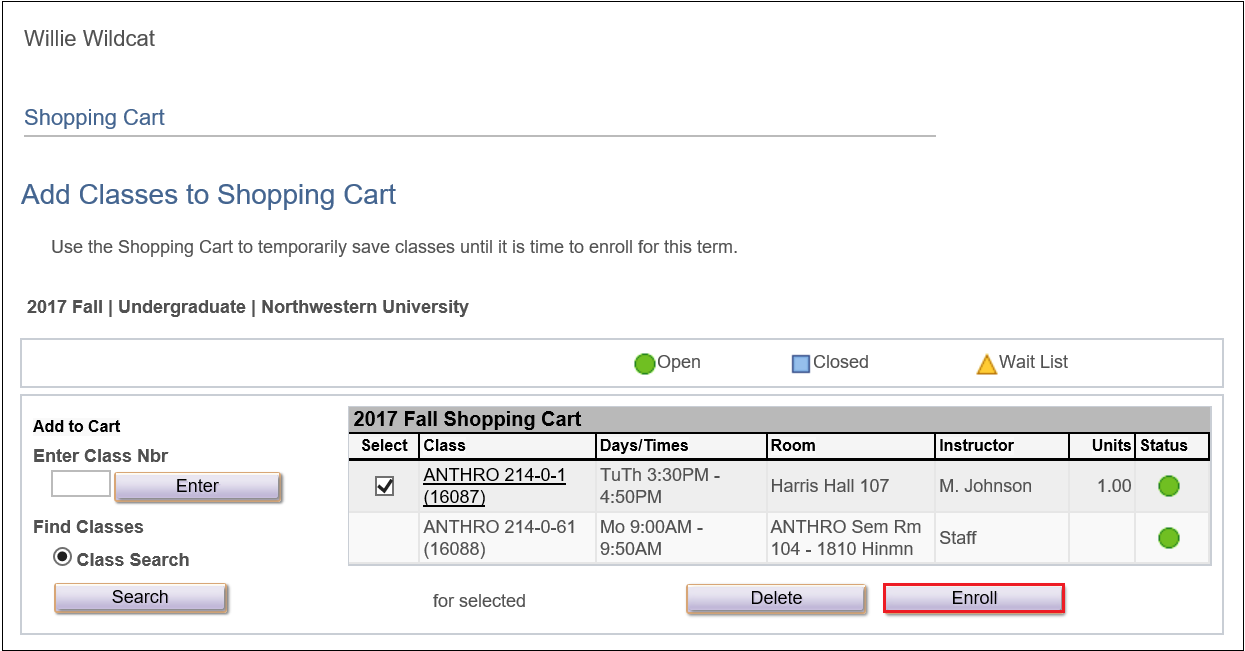
Step 7
Repeat the steps above to add additional classes to your Shopping Cart or press the Enroll button to proceed with the enrollment process.
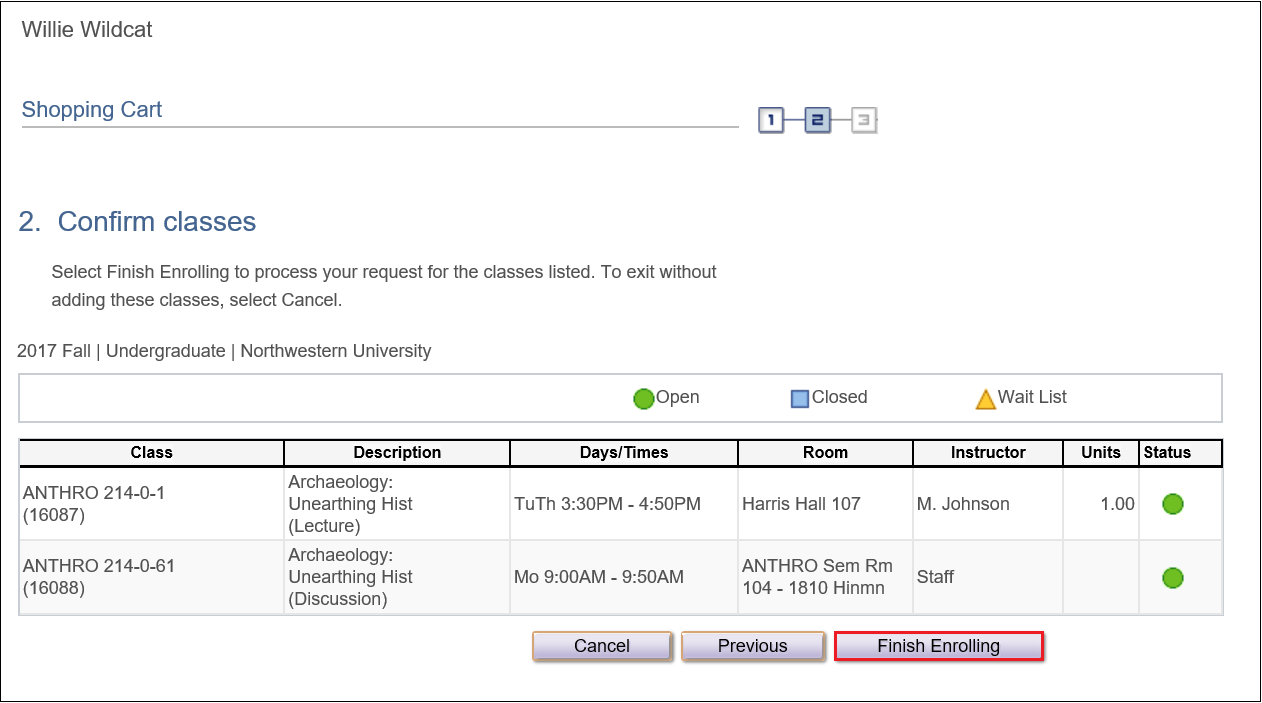
Step 8
Confirm your class selections and press the Finish Enrolling button.
When your transactions have been processed, the Shopping Cart–View Results page appears. Successful enrollments will display a green checkmark next to the class, and unsuccessful enrollments will display a red X next to the class. If a class addition or swap is unsuccessful, Errors will be displayed in the Message field.
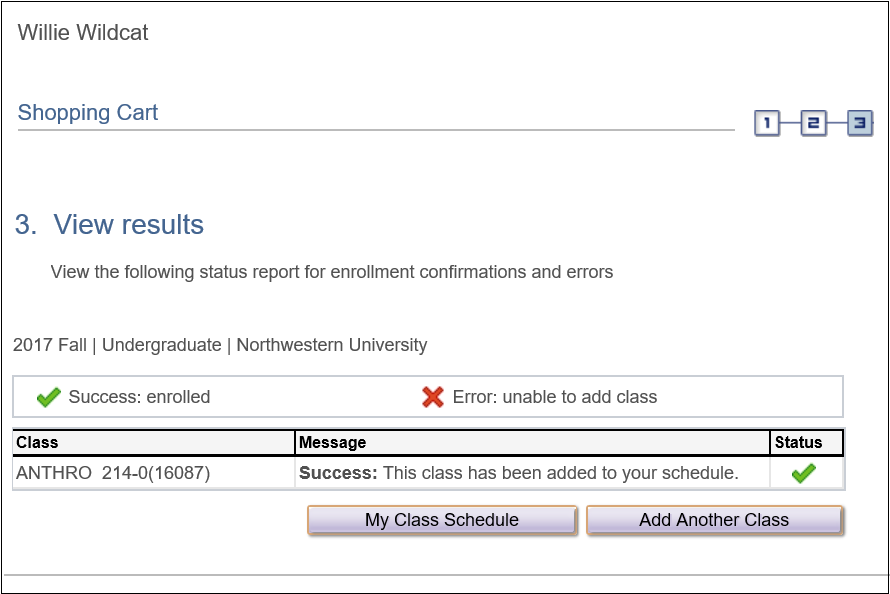
Step 9
Press the Add Another Class button to add another class or press the My Class Schedule button to view and print a copy of your class schedule. Confirm that your schedule is correct and, if you wish, press the Printer Friendly Page link in the lower right hand corner and print a copy. [Alternately, you can navigate from the Manage Classes tile on your Homepage and select View My Classes from the left-hand menu.]