Search/ Match Process User Guide
Step 1
Navigate to the Search/Match page via one of the following navigation paths:
- Administrator Homepage > Classic Home > Main Menu > Campus Community > Personal Information > Search/Match
- Administrator Homepage > Classic Home > Main Menu > Campus Community > Personal Information (Student) > Search/Match
- Administrator Homepage > Classic Home > Main Menu > Student Admissions > Application Entry > Search/Match
The Search/Match "Find an Existing Value" page appears.
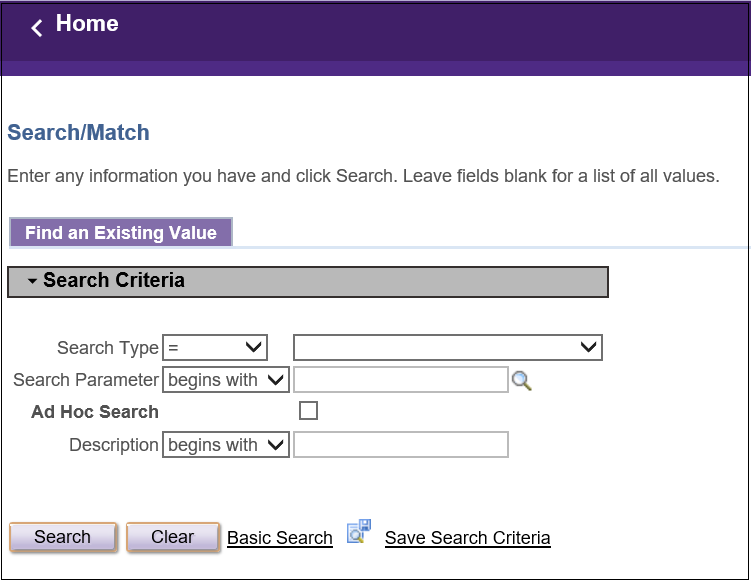
Step 2
Either set up a search to save (for help, see “Saving Search Default Values in Search/Match” further down the page) or begin a new search.
The Search Criteria that should be used are as follows:
- Search Type: Person
- Search Parameter: NW_ADMISSIONS
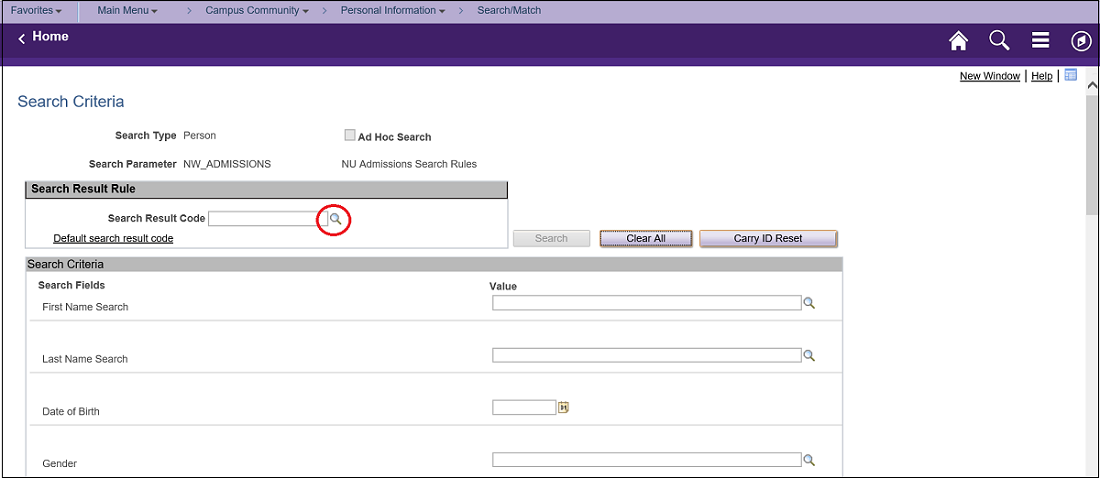
Then click the Search button. The Search Criteria page appears.

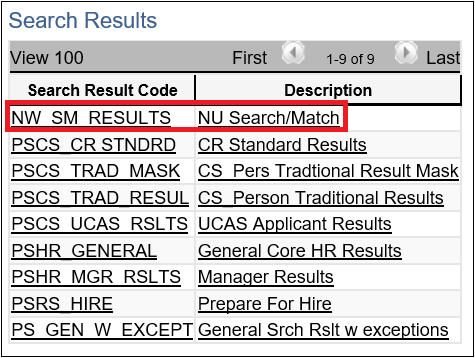
Step 3
Click on the Search icon next to the Search Result Code field. The Look Up Search Result Code popup appears. Click on the Look Up button and select NW_SM_RESULTS.
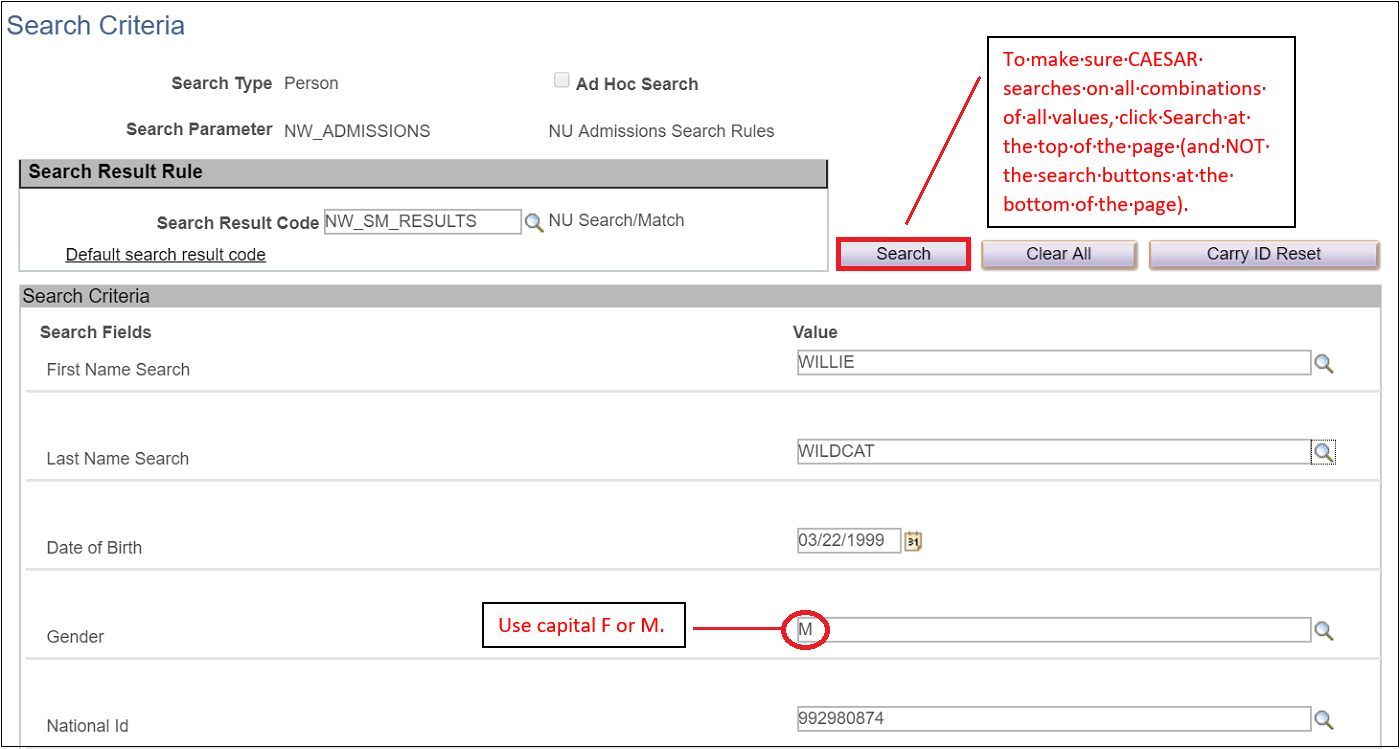
Step 4
Enter as many search criteria in the values fields as you are able, tabbing out of each field as you go. Unlike a Google search, adding information in all of the fields does NOT limit your search—adding more values will expand your search and be more effective. Then press Search near the top of the page. (Note: the Search button will remain greyed-out and unavailable until you have entered enough criteria to match one or more of the search sets listed in the bottom half of the page.)
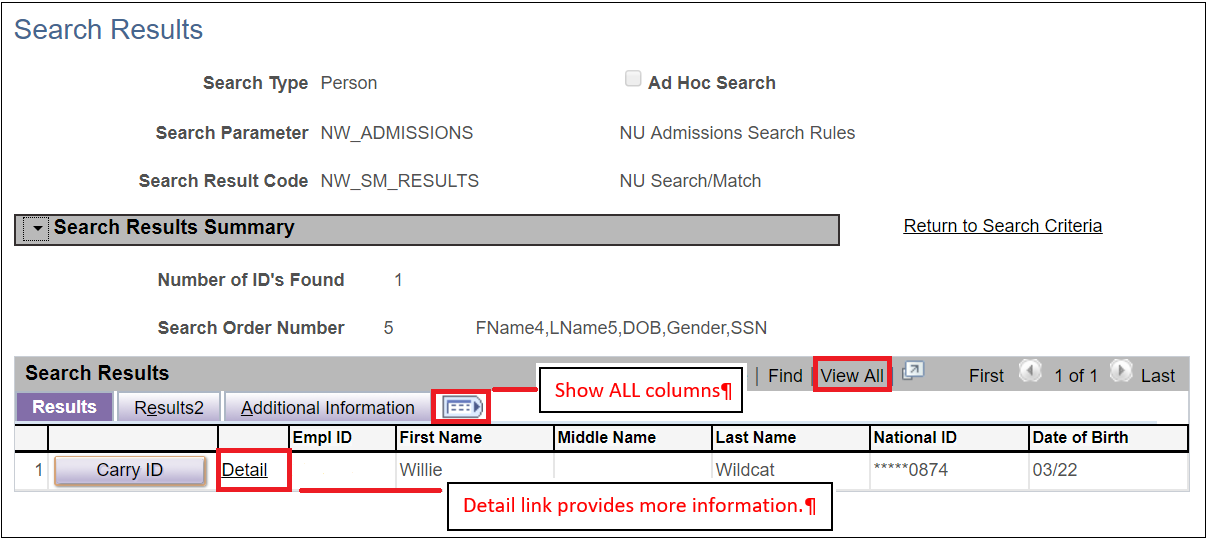
Step 5
Your search results will appear in a new page. If there are many results, be sure to click on View All to see all potentially matching names. If you find a match (or matches), click on the Show all columns icon ( ![]() ) to the right of the Additional Information tab to show all columns of data in all tabs. Click any of the Detail links next to a potential match (note: you may need to allow pop-ups on your browser) to access additional personal information about a matched name result. You will need to use the horizontal scroll bar to see all columns. Each column header can be clicked to sort or re-sort the results.
) to the right of the Additional Information tab to show all columns of data in all tabs. Click any of the Detail links next to a potential match (note: you may need to allow pop-ups on your browser) to access additional personal information about a matched name result. You will need to use the horizontal scroll bar to see all columns. Each column header can be clicked to sort or re-sort the results.
If you determine a result matches your applicant/student, highlight the Empl ID and copy it (either by right-clicking or by going to your browser’s Edit menu). You can paste this Empl ID later in the appropriate field.
You can also click on the Carry ID button to the left of the matching applicant or student name, in the first column of the Search Results table. The Carry ID function will “carry” the Empl ID to the next window that is opened. (Note: the Carry ID function works when navigating to the Application Entry pages but may not work when navigating to the Quick Admit pages.)
Step 6
To open another window in CAESAR, click New Window link in the upper right-hand corner. Then proceed to Quick Admit, Application Entry or another destination.

If no match appears, no record was found for this individual in the database that matches the search criteria used. You can continue creating a new record for the person.
Saving Search Default Values in Search/Match
Step 1
Navigate to Search/Match via one of the paths named at the top of this document. The Search/Match "Find an Existing Value" page appears.
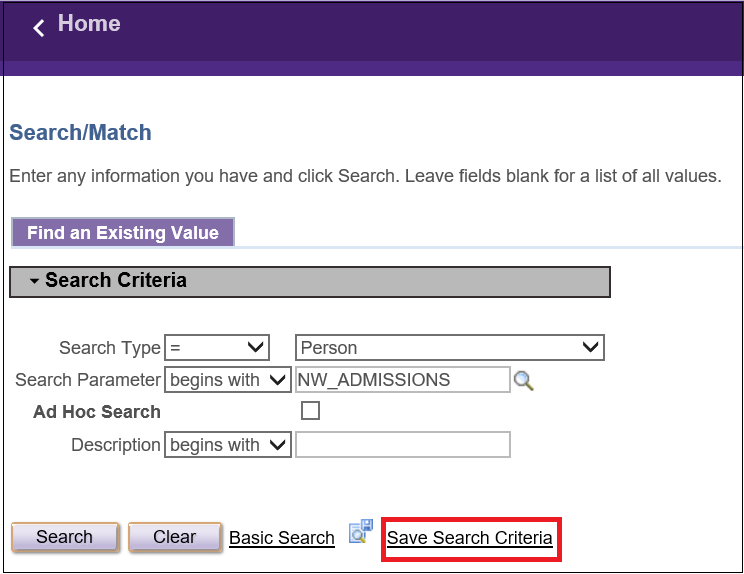
Step 2
From Search Type, select Person in the drop-down menu and from Search Parameter select NW_ADMISSIONS. Click the Save Search Criteria link.
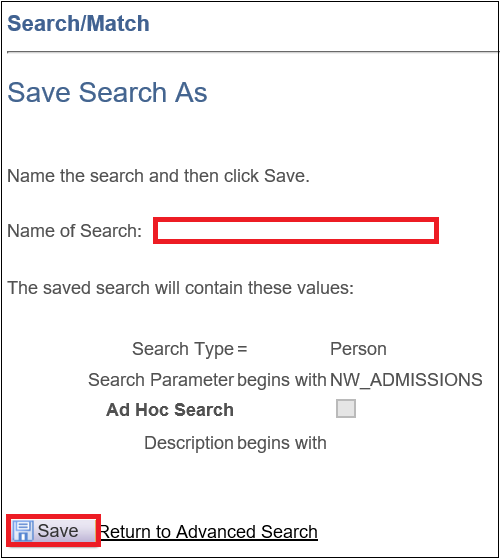
Step 3
You are now on the Search/Match - Save Search As page. Create a name for your search (such as "Search Match Default") and click Save.
Step 4
The Search/Match, Save Search As message box appears.
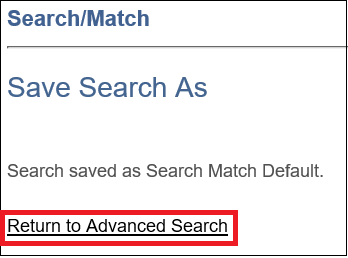
By clicking on Return to Advanced Search, you will see the “Use Saved Search” field appears on the Search/Match page. The next time you use Search/Match, you may select the name of your saved search from the drop-down menu.
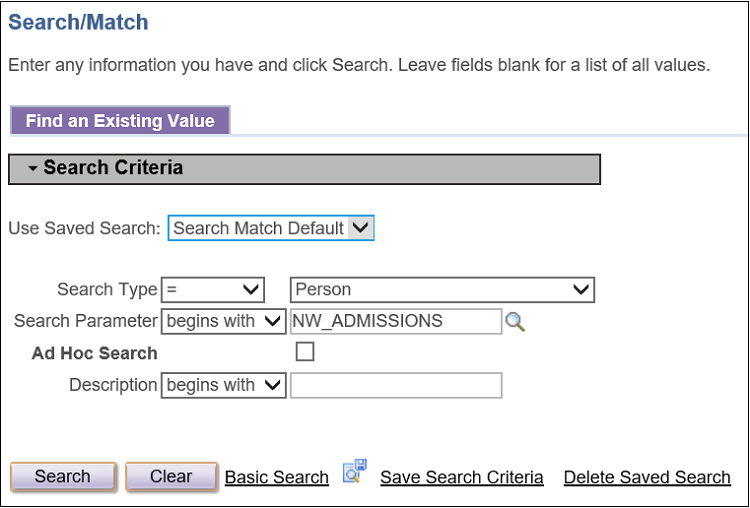
Step 5
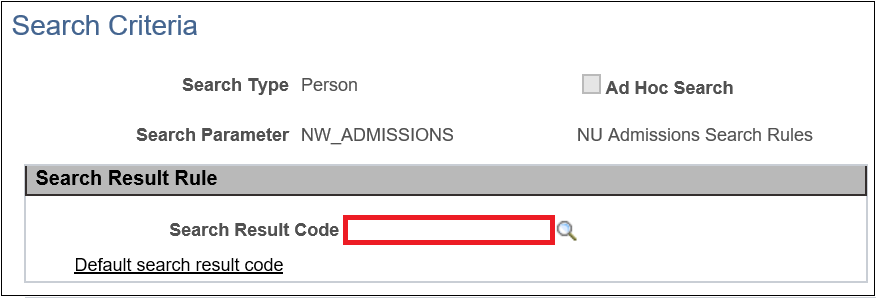
You will also need to create a Default search result code for the Search Result Code field. To do so, select your Saved Search and the Search Criteria page appears.
Step 6
Click on the Default search result code link. The Default Search Result page appears.
Step 7
Click on the Search icon () to the right of the Search Result Code field. The Look Up Search Result Code page appears.
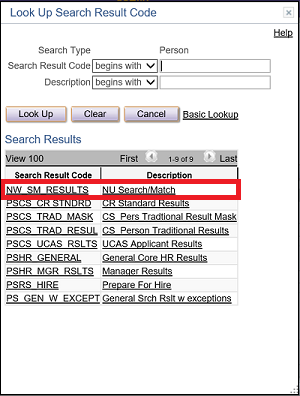
Step 8
Click on Look Up. The Search Results appear at the bottom of the Look Up Search Result Code page. Select NW_SM_RESULTS (NU Search/Match). The Default Search Result page appears.
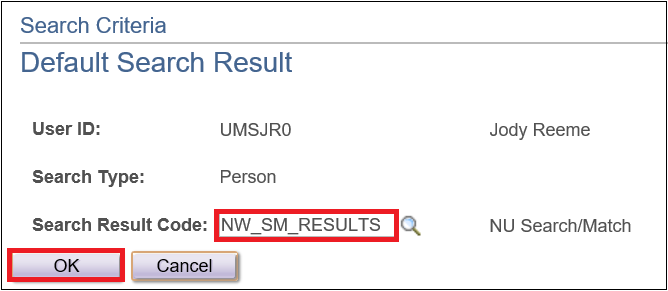
Press OK.
Each time you use Search/Match in the future, if you select your Saved Search, your defaults will populate in the appropriate fields on the Search Criteria page.